Posted by Stigern | Posted on 06-05-2009
Category : Arduino, Electronics
Tags: arduino, avdvanced, boarduino, follower, guide, how, ldr, light, make, resistor, tracker, tutorial
[youtube=http://www.youtube.com/watch?v=iEhX27ahreI&w=480&h=385]
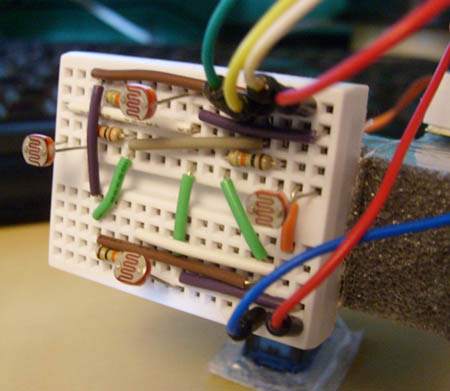
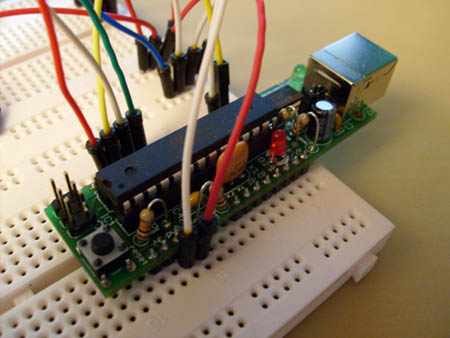
This is how to make a simple light tracker/follower with the Arduino. The components you need apart from the Arduino is:
2x Photoresistors: “PHOTOCELL2 Miniature Photocell”.
2x 470 Ohms resistors.
1x Servo.
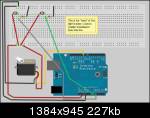
And of course some wires, and a breadboard or two :). Next step is to wire it all up, I’ve made a drawing in Fritzing that you can follow. Basically each photoresistor is wired likes this:
PhotoR 470Ohms
+5 o—///–.–///—o GND
|
Pin 0 & 1 o——-
Program Code:
#include <Servo.h>
Servo myservo;
int pos = 0; // Variable to store the servo position.
int inputPhotoLeft = 1; // Easier to read, instead of just 1 or 0.
int inputPhotoRight = 0;
int Left = 0; // Store readings from the photoresistors.
int Right = 0; // Store readings from the photoresistors.
void setup()
{
myservo.attach(9); // Attach servo to pin 9.
}
void loop()
{
// Reads the values from the photoresistors to the Left and Right variables.
Left = analogRead(inputPhotoLeft);
Right = analogRead(inputPhotoRight);
// Checks if right is greater than left, if so move to right.
if (Left > (Right +20))
// +20 is the deadzone, so it wont jiggle back and forth.
{
if (pos < 179)
pos++;
myservo.write(pos);
}
// Checks if left is greater than right, if so move to left.
if (Right > (Left +20))
// +20 is the deadzone, so it wont jiggle back and forth.
{
if (pos > 1)
pos -= 1;
myservo.write(pos);
}
// Added some delay, increase or decrease if you want less or more speed.
delay(10);
}
PS. If you got any questions etc, please take it in my forums post here.