How to make a security alarm using LDR and Laser!

1

Category : Arduino, Electronics

How about a easy and simple tutorial on how to make a sort of security sensor using laser and a light dependent resistor?

It’s just as simple as this, the LDR reacts when it gets less light than the laser-dot in the center of it. Which is when something comes in the lasers way. So then you know when something passes the invisible line between the laser and the LDR.

Lets begin with what components you need:

1x Laser Emitter/Pen
1x LDR
1x Resistor 10k (doesn’t have to be 10k ohms)
1x Piezo Buzzer (you can use a LED or anything else you want)

And of course a Arduino board of your choice, and some wires.

Lets wire it all up like this:

Things to notice, buzzer is grounded and the + wire is on the digital 10. Laser is just ground and +5v to make it light constantly. The LDR is in a voltage divider with a resistor, we take out the readings in the middle where the yellow wire is, and it’s attached to the analog 0.

A picture of the LDR.¨

When all this is wired up, just put this code and run it.

[youtube=http://www.youtube.com/watch?v=IzEDspdWjxU;ap=%2526fmt%3D18&w=425&h=344]

Merry Christmas!

Category : Stuff

And a happy new year!

Thinking about starting with Arduino? Read!

4

Category : Arduino, Electronics

Hi

I just want to write a few words for those new to Arduinos, or those looking for tutorials, guides etc. If you haven’t got a Arduino board yet, you can get one from several places, I’ll list some of my favorite shops. And of course you also need the Arduino Software!

Sparkfun
Seeedstduio
Adafruit

Or, Modified Electronics for the great Pico! (not recommended for beginners, you’ll be better of with a normal board).

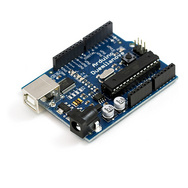
What you are looking for is the Arduino Duemilanove, the USB board. Which will suit most your needs. It’s very easy to use, and wires can be plugged right into it. Later on you might want a Boarduino or maybe a Pico as mentioned above, they are great for using in combination with breadboards! Alternatively you can get the Starter kit, almost all shops got these. Sparkfun got a nice kit, which is worth a look.

If you should want more I/Os, or just more space for code the Arduino Mega is a great choice! Or the Sanguino!

Parts!

You will always need parts, resistors, leds, breadboards, wires etc. I’ll list up a few shops that I use the most.

Futurlec

Lots of cheap basic parts! recommend the resistor packs, and they also got cheap breadboards. And all of the shops mentioned above stock parts too. For jumper-wires I recommend these at seeedstudio. Futurlec also got some nice jumper-kits. For extra small breadboards these at Seeedstudio are very nice!

Pololu

Great site for robotics, motors, gearboxes etc. They also got a nice tracked chassis. They got a lot great products, sensors, motor controllers, etc.

Tutorials/Guides/etc

1. The basic guide, from sparkfun. You should start with this!

2. The Complete Beginners Guide to The Arduino

3. Adafruit’s Arduino Tutorials

4. Arduino.cc`s Tutorials

5. Arduino.cc Reference! Not tutorials, but handy!

Also the Libaries page at Arduino.cc is great! I’m sure you’ll find something to use in several projects!

Well, thats all I’ll write for now. I’m sure I left out alot, and will update this post when I find something new to add 🙂

PS. If you got any questions etc, please take it in my forums post here.

Installing WMP11 without genuine advantage or validation check

Category : Windows

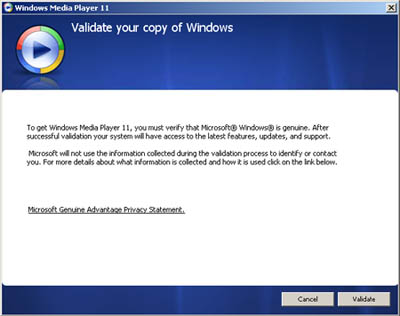
We all know when installing windows media player 11 you need to validate your copy of windows xp. Or at least you will know when trying to :P. And if you for some reason fails that validating, you can’t install it. Now here is how to bypass that 🙂

1. Download WMP11 from FileHippo:
http://filehippo.com/download_windows_media_player/

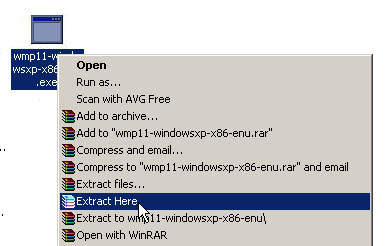
2. Extract the .exe file somewhere:

Left click on the wmp11-windowsxp-x86-enu.exe, and select Extract here, or someplace you want. Using WinRar or some other program.

3. Run wmp11.exe:

This is actually the install of the wmp11 without validation 😛

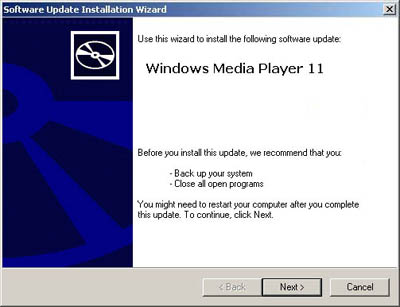
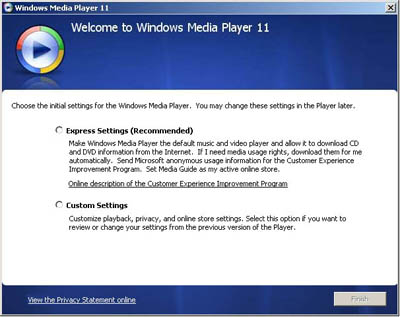
Running this file will bring the installation window for wmp11 right up. And now it’s just to follow the steps from there.

4. Reboot and finished!

Yes, at the end of the installation in step 3 it tells you to reboot. So just do that, and when it’s back up again you got a fully working windows media player without having to hassle with the validation.

EDIT: Might also add this, on some systems you need to run the other exe files in the setup package.