
Two quick jobs in FuMesh: closing the holes in a scanned dog, and hollowing a small house so it can sit over a light with its windows open.
Closing two holes with Fill holes
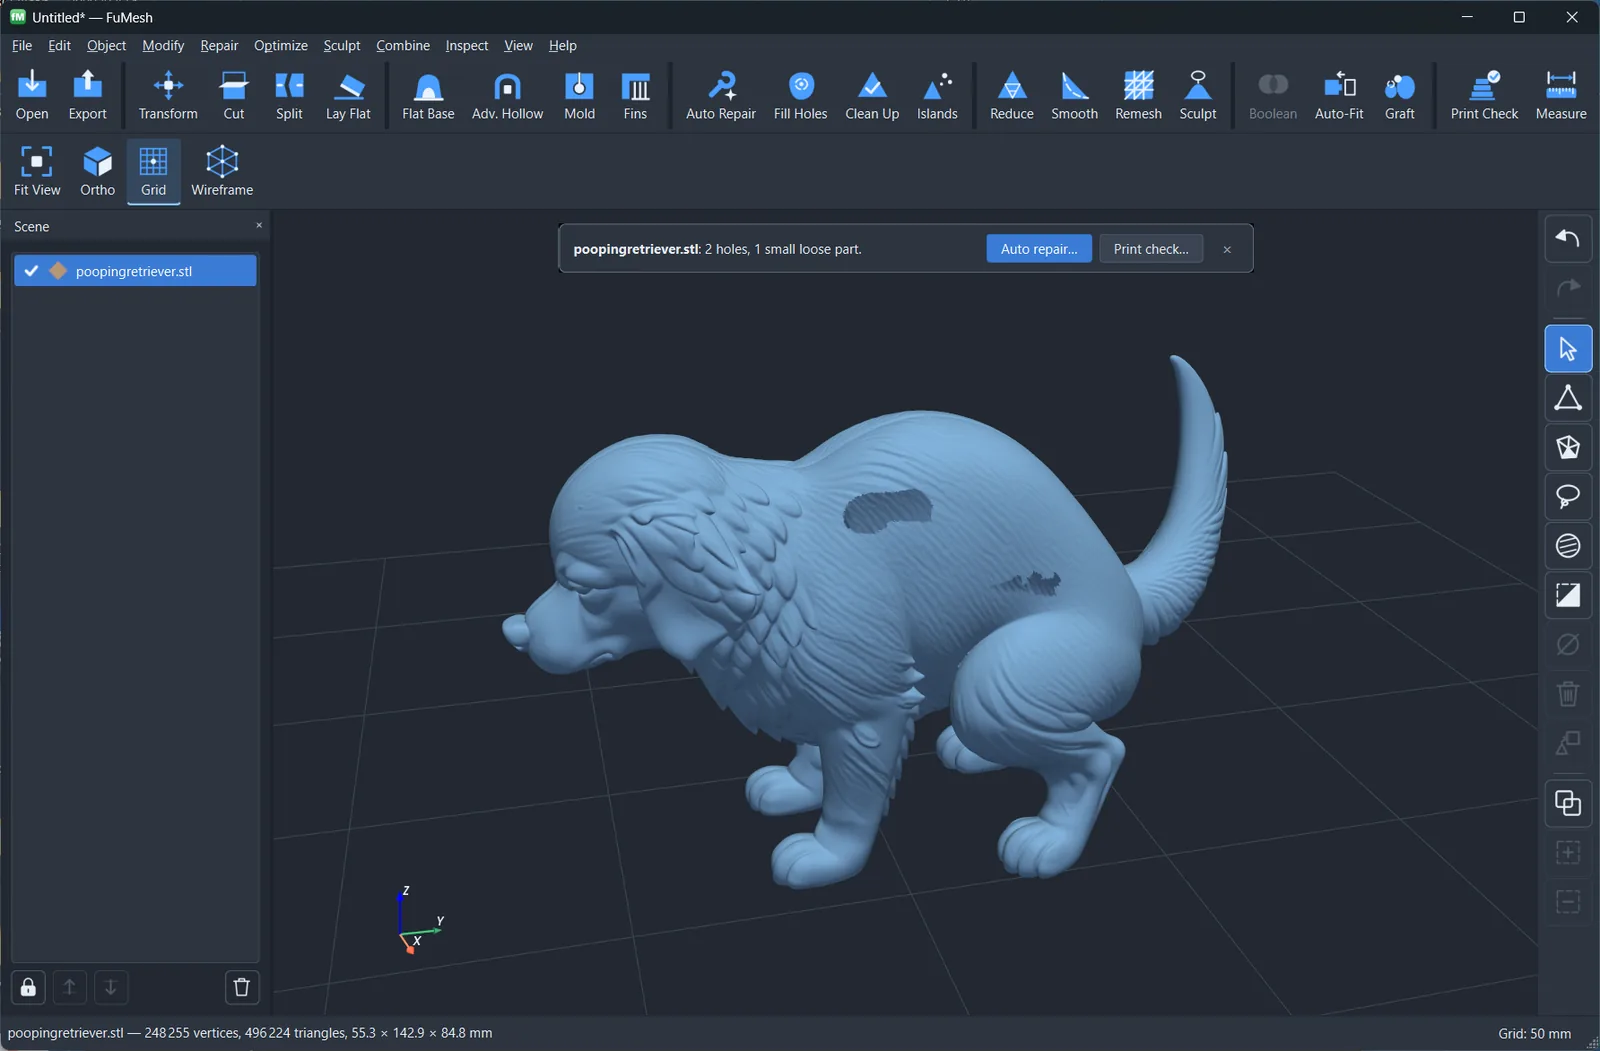
When I open the retriever, FuMesh tells me straight away: 2 holes, 1 small loose part. They are easy to see on its side.
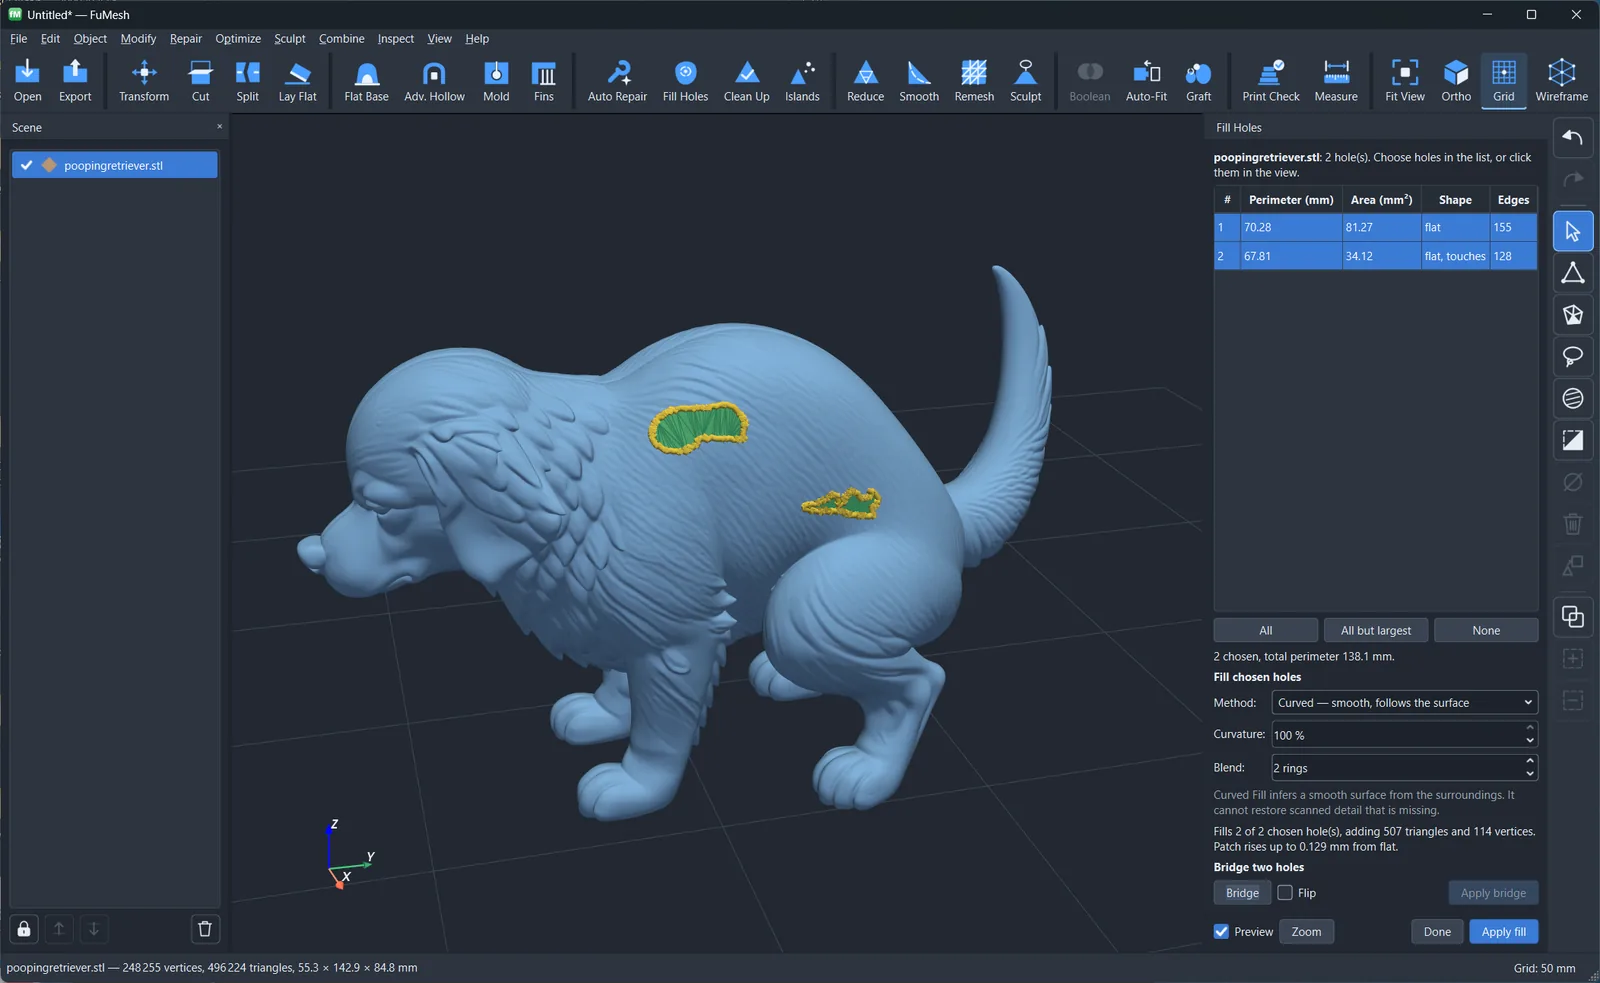
Repair → Fill holes (Ctrl+Shift+H) lists every hole with its size. Click All, and the preview shows the patches in green. The dog’s side is round, so I set the method to Curved and Blend to 2 rings: the patch follows the curve and flows into the surface around it instead of sitting flat in the hole.
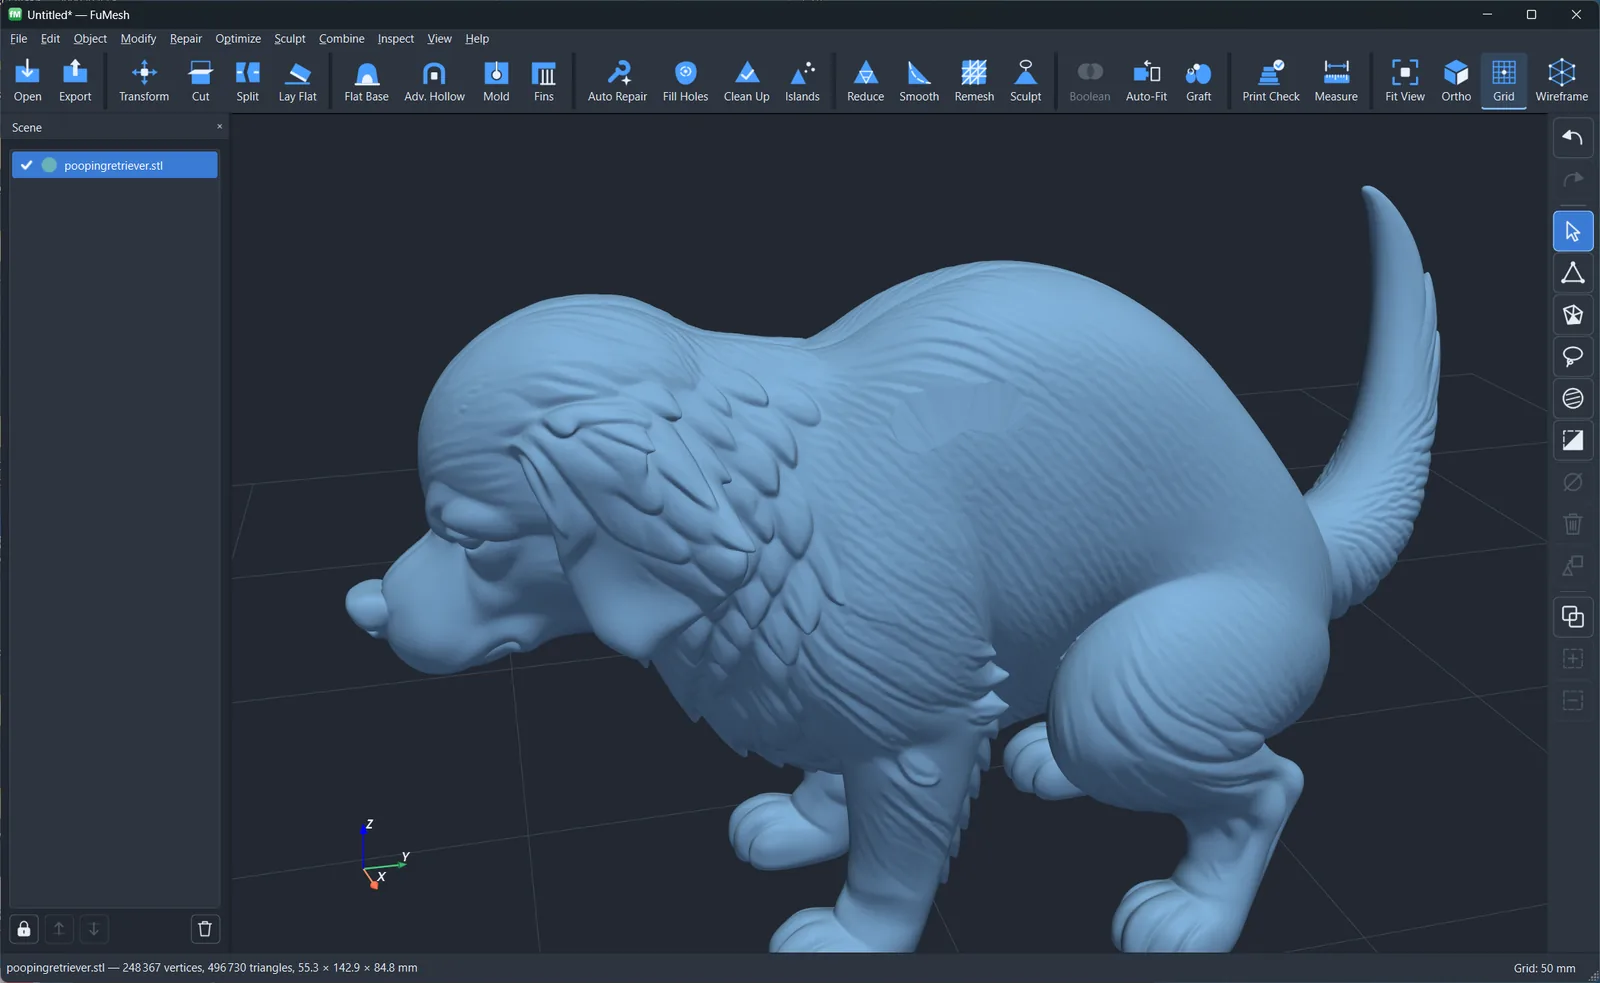
Click Apply fill. One tiny “hole” was left in the list, and the panel explained it: it is the outline of a loose triangle, not a hole. That was the small loose part from the note, and Islands removes it. Now the scene list shows a green dot: the model is closed and ready to print. The patch is smooth, though. Fill holes can’t invent fur that the scan never had.
Hollowing a cottage with Advanced hollow
The cottage is solid. I want it hollow, open underneath and with open windows, so an LED can sit inside. Modify → Advanced hollow… does all three in one go.
- The wall. The defaults are a 2 mm minimum wall and 2 mm Smooth inside. The orange shape in the preview is the inside surface.
- Open bottom. Tick it, and a yellow plane shows where the model is cut open. The base is flat, so the whole floor goes. The panel says the opening fits a 52 mm circle, and the house now uses 59 % less material.
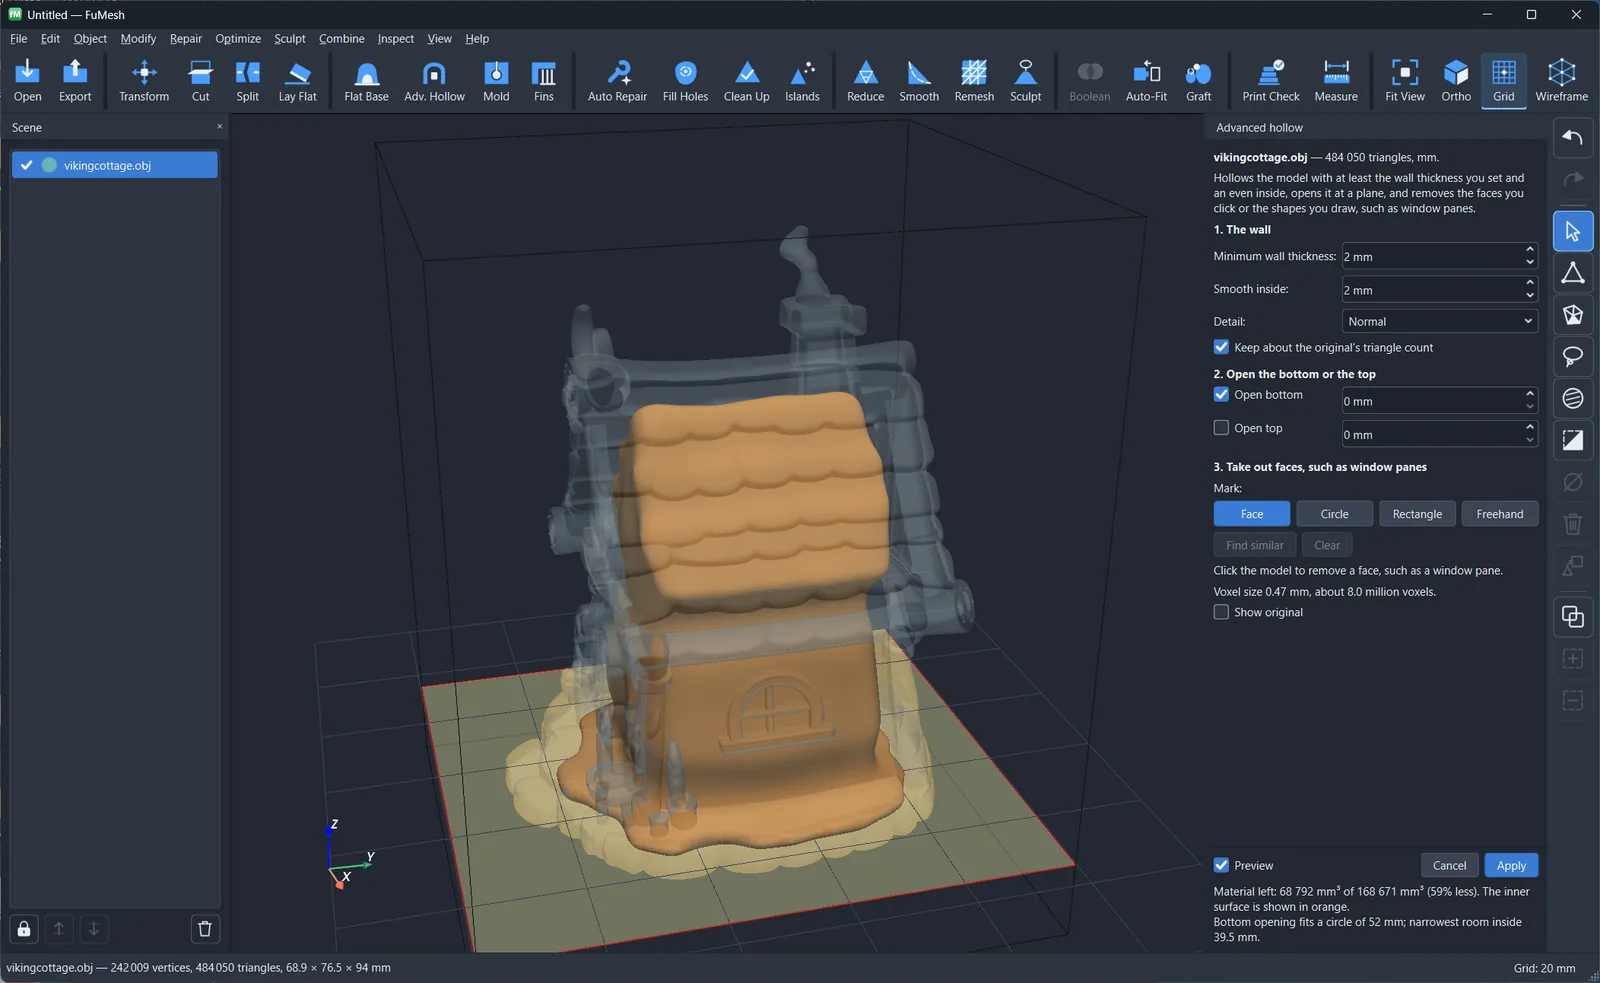
- The windows. With Mark: Face on, click a pane to mark it in red. Find similar marks the panes that look like it, which here was the matching window on the other side. The round window in the gable is a different shape, so it needed its own four clicks. If you hit a crossbar instead of a pane, Delete removes the last mark. Turn the model around before you apply, so you don’t miss a window.
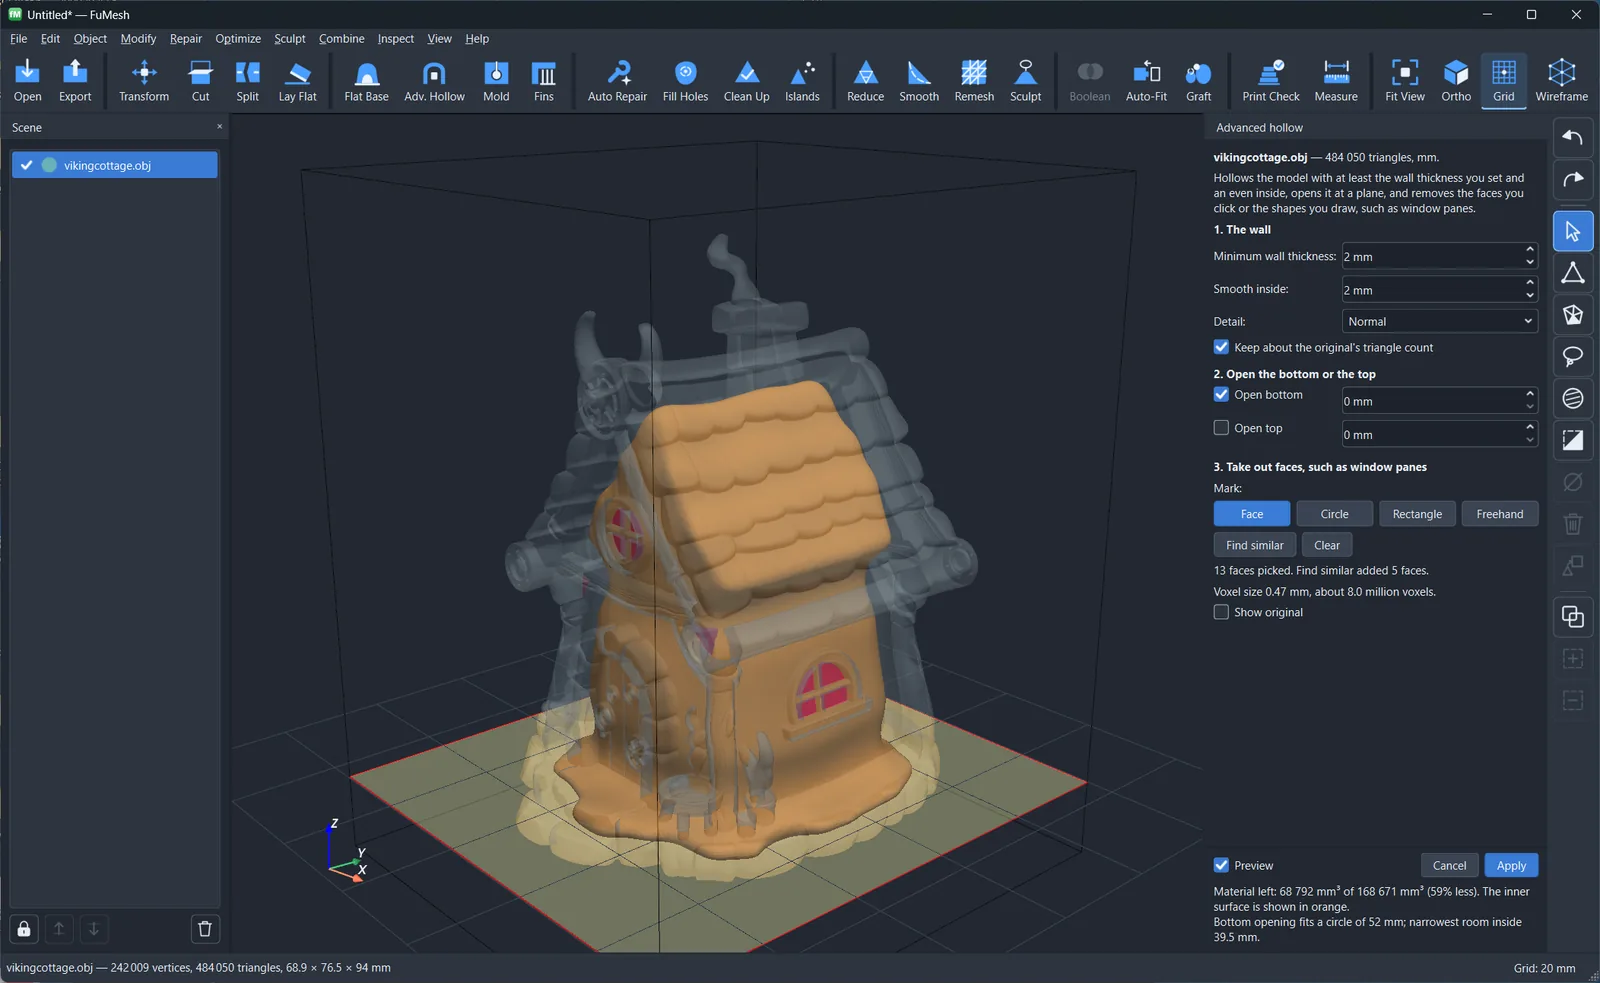
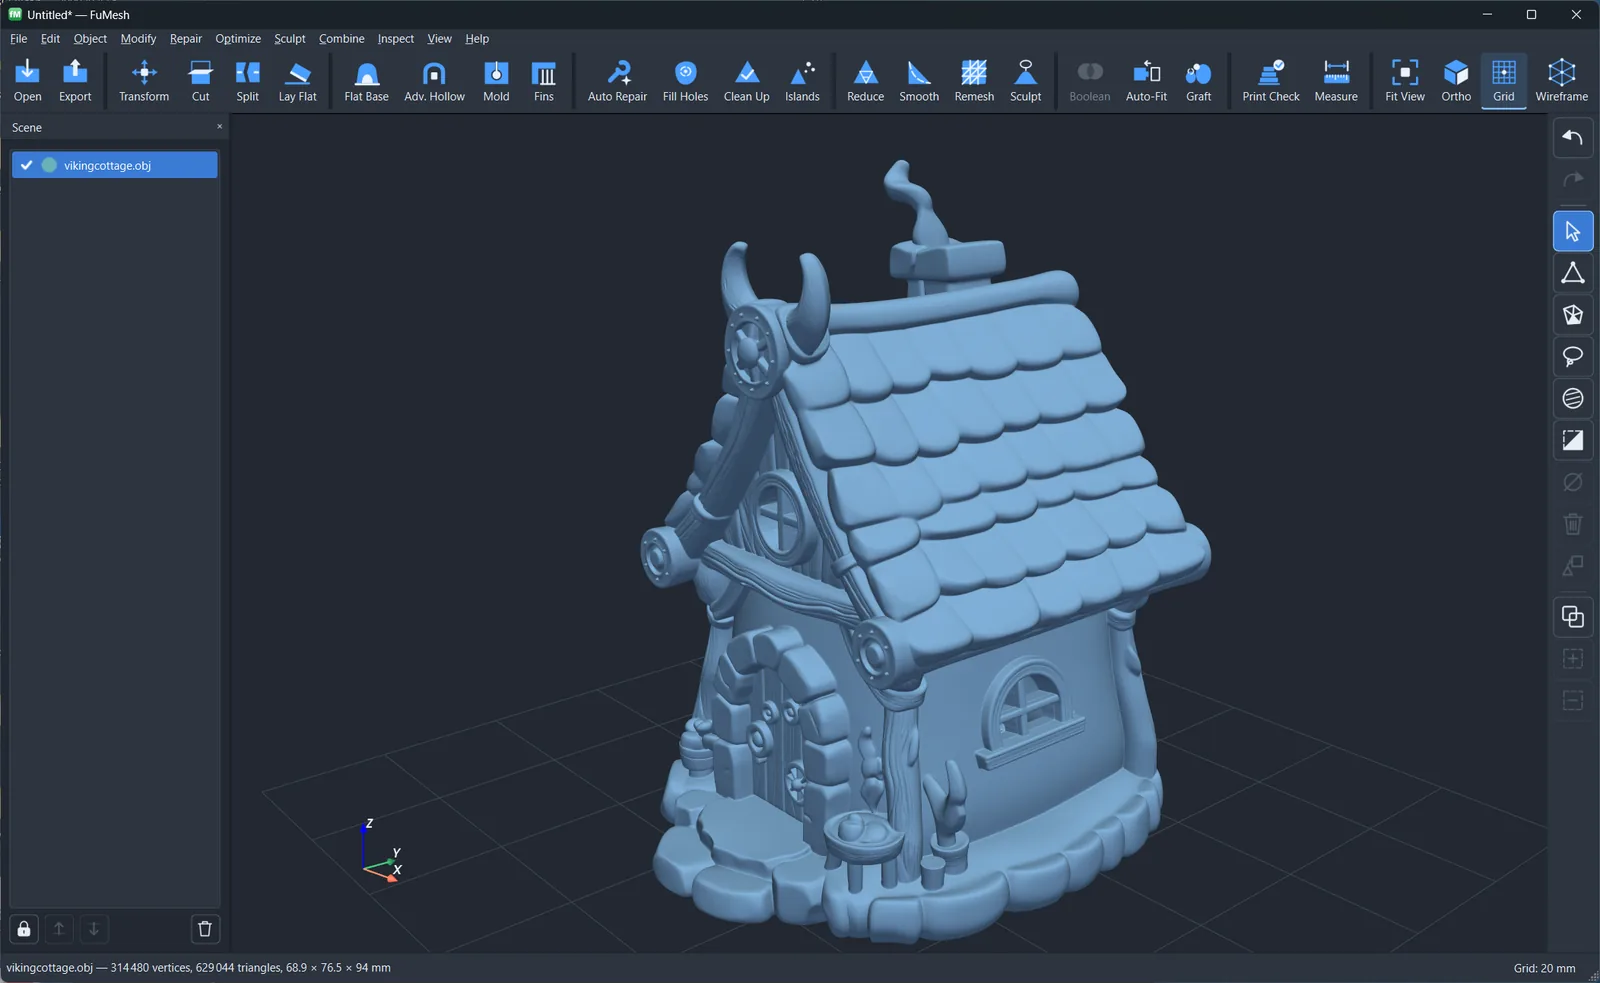
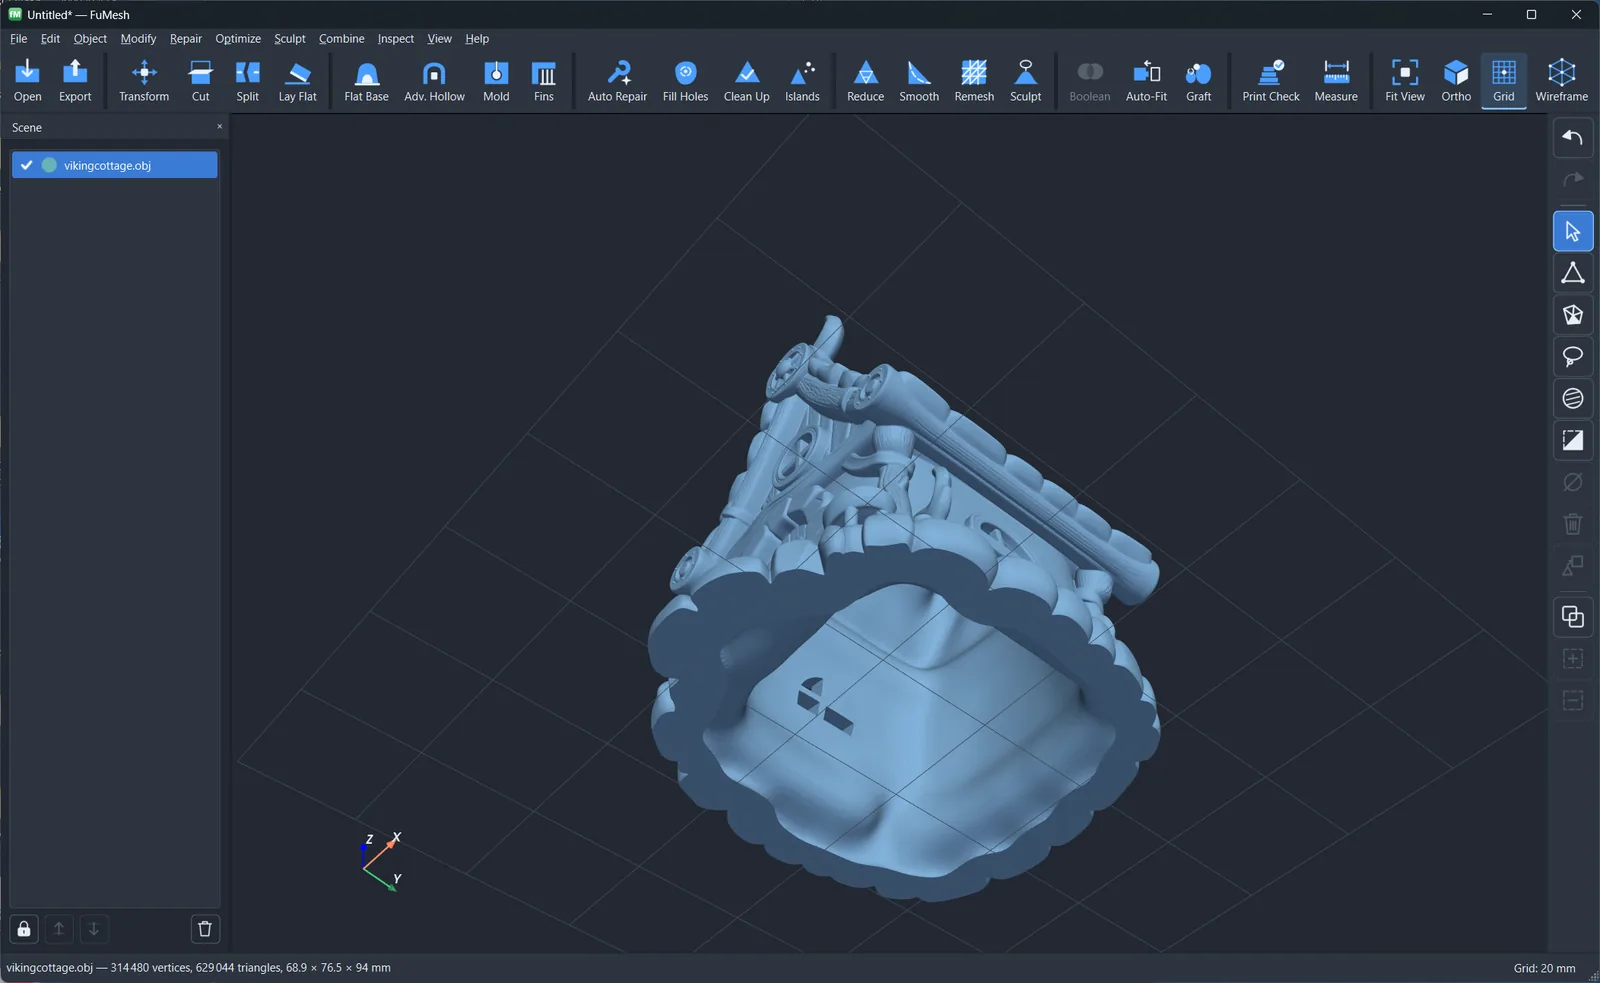
Click Apply, which is one undo step. The panes are gone, and the frames and crossbars are still there.
Download
FuMesh is free, with no account: stigern.net/software/fumesh.